As there are many different editing concepts in Avid MC vs FCP X, it makes sense to have a tighter look on the main differences of the two applications. Here are some main hurdles you might step over when switching from Avid MC to FCP X.
No 1) Normally clips end up in the Primary Storyline as default. As there are no tracks, attach clips below and above the Primary Storyline (for e.g. music) easily with Q.
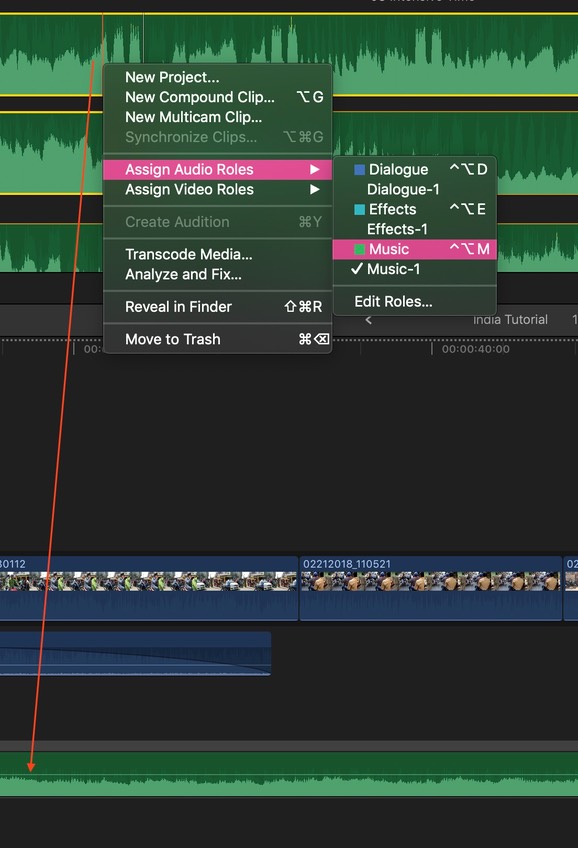
No 2) There is literally no active audio routing in FCPX. So instead you define the audio type of the clips BEFORE editing and they will end up automatically in the right spot in the timeline.
So you mark e.g. ALL music clips with one keystroke in the browser for example as music. They will then be placed in the corresponding music lane in the timeline automatically.
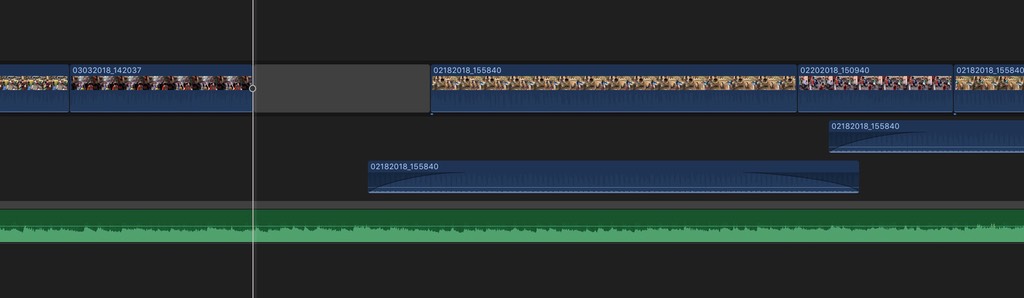
No 3) If you want to insert a gap in the middle of the timeline, just use Alt-W. When being aware of clip connections (see tip 4) no clips are destroyed or cut in the area. You can then trim the gap (and therfore everything behind the gap) as you like.
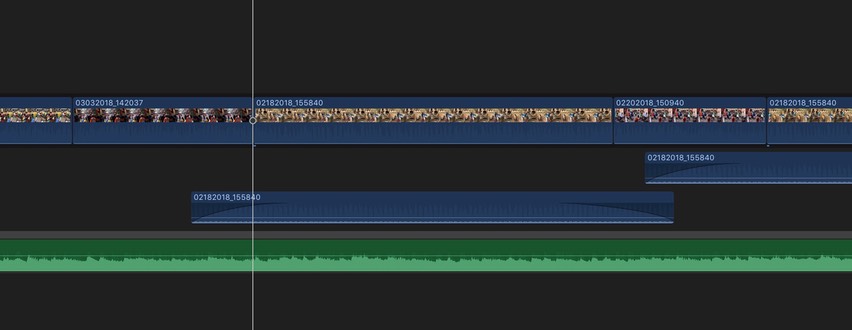
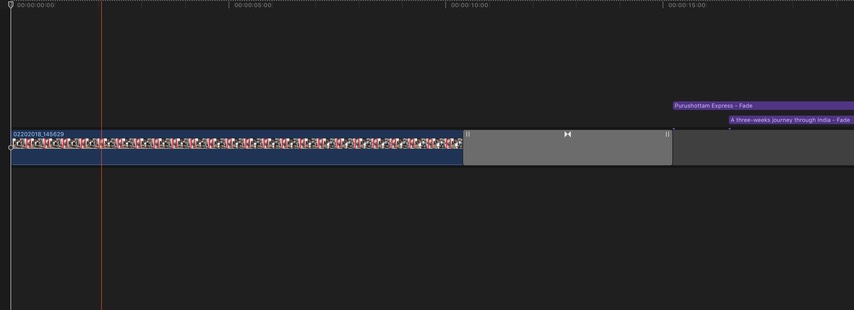
No 4) Because there are no tracks, the clips are connected to the Primary Storyline in a tree structure in the timeline.
To change that connection of where a clip is connected to another clip (here in the scrrenshot it is a gap clip), just mouse-click the Secondary-Storyline-Clip at the position you want while pressing Alt-Cmd.
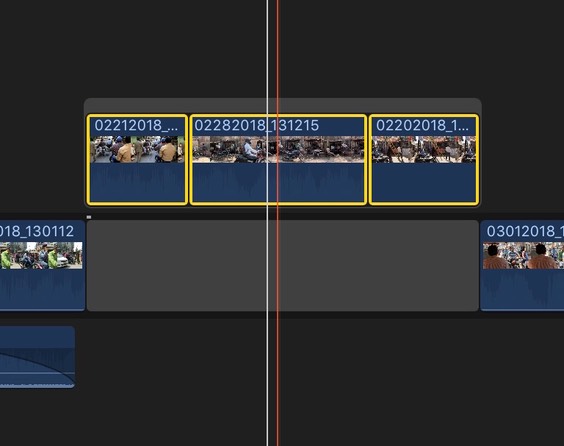
No 5) When moving clips from the Primary Storyline then use Alt-Cmd-ArrowUp, so it doesn’t ripple the timeline.
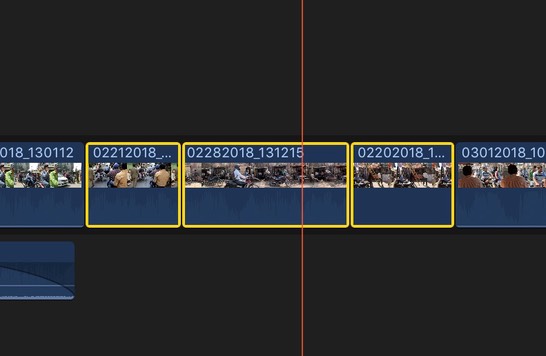

No 6) Use the Secondary Storyline for B-Role with groups of clips. To connect clips as a group as a Secondary Storyline fast, just mark the clips and press Cmd-G. To ungroup use Shift-Cmd-G. The clips that are connected as a Secondary Storyline gain the functionality of the Primary Storyline.

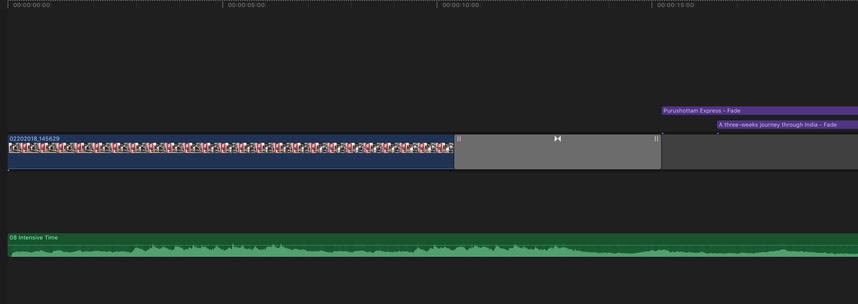
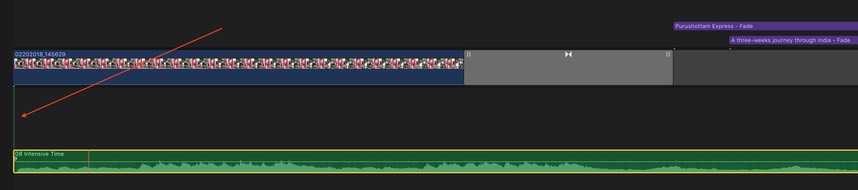
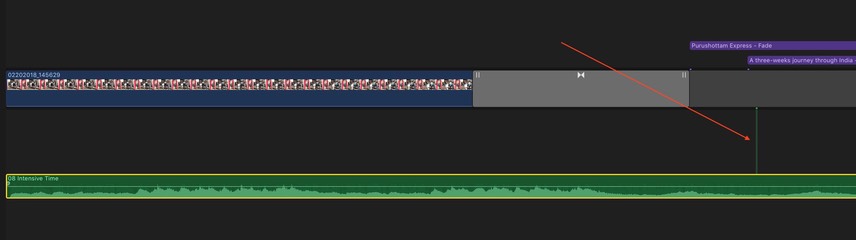
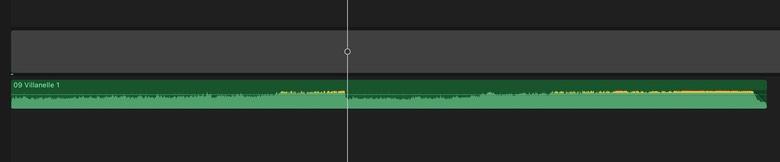
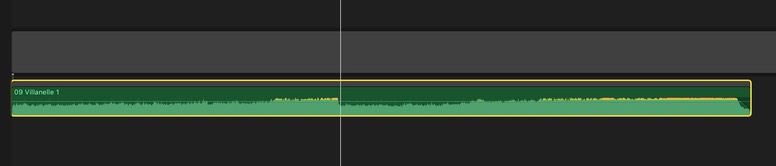
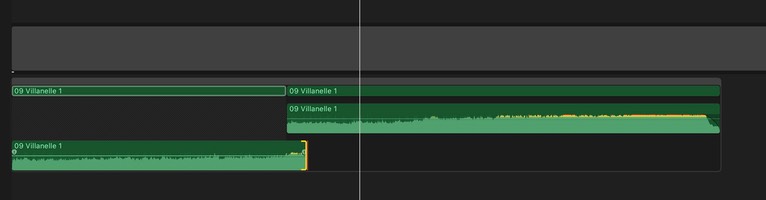
No 7) To shorten/edit a music clip in the timeline musically:
1) group the clip with Cmd-G, then 2) cut the clip with Cmd-B (clip must be selected), then 3) trim and alternatively trim/overlap with expanded audio (Ctrl-S).
Because this is a group of clips, you only have one clip connection.

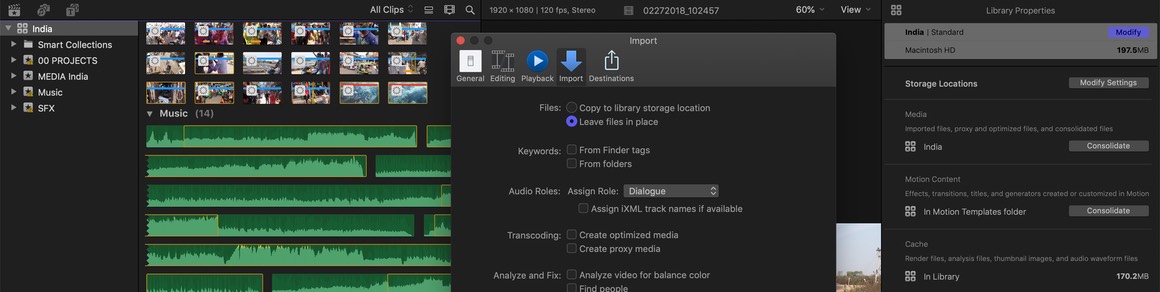
No 8) Manage your media actively.
1) Make one folder on your hard drive for all you footage and manage external files there. 2) In System Prefs in FCPX select “Leave files in place”. 3) Select Library in the browser, then in the Inspector to manage your storage location.
This permits small libraries (projects in MCP) that can be copied, backuped and shared easily.
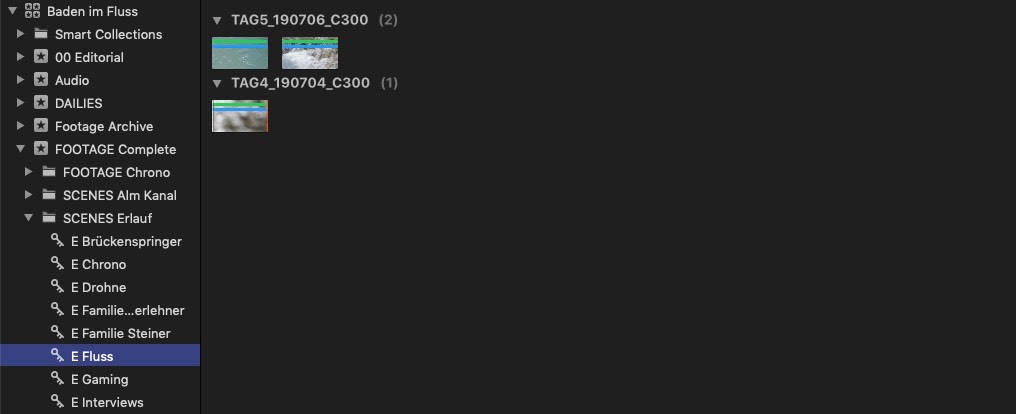
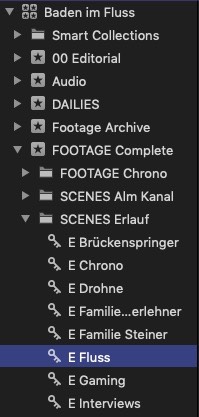
No 9) Bins in Avid could be referred to the Events in FCPX. Further organize and define your footage in the Events (here in my screenshot I only have five) with keywords and keywords in folders which are very flexible to use.
E.g. make 1) keywords for the chronological order of camera cards and 2) a collection for various scenes.
No 10) Instead of making Stringouts of footage in the timeline, rather organize and collect clips making keywords in the browser then (just drag and drop footage on top of a keyword).
To define your collection further mark favorites with I (mark in) O (mark out) and F (Favorites - look for the green line above the clip).
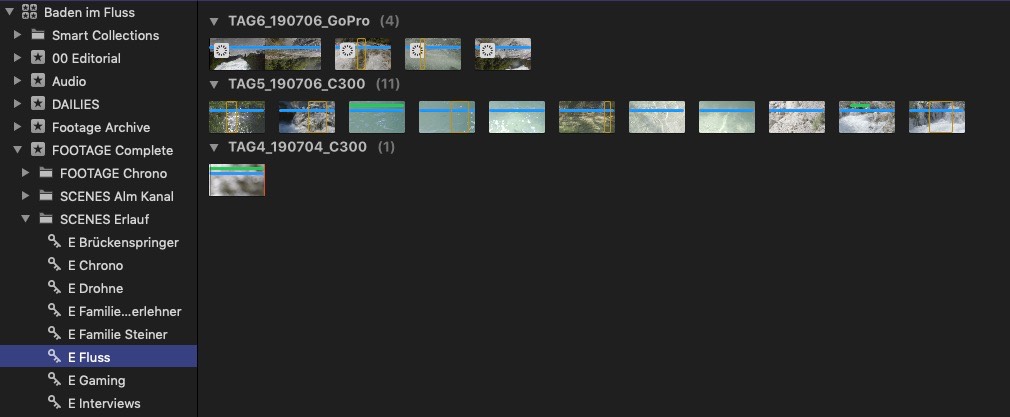
Here the filter is applied with Ctrl-F in the browser.